Decorate for Halloween with a Free Photo Banner Printable
Decorate for Halloween with a free photo banner printable – it’s a simple and fun way to add a festive touch to your home or party! With a little creativity and some printable designs, you can create a spooky, whimsical, or classic Halloween atmosphere that’s sure to impress.
Whether you’re looking for a spooky spider web banner, a cute pumpkin design, or something more unique, there are plenty of free printable options available online.
From choosing the right size and style to printing and assembling the banner, we’ll walk you through the steps to create a show-stopping Halloween decoration. We’ll also share ideas for complementary Halloween decorations that will tie everything together and create a truly immersive experience.
Choosing the Right Banner Size and Style: Decorate For Halloween With A Free Photo Banner Printable

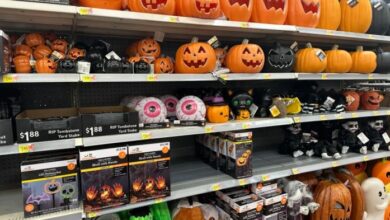
When decorating for Halloween, a banner is a great way to add a spooky touch to your home. But with so many different sizes and styles available, choosing the right one can be tricky. This guide will help you choose a banner that complements your Halloween decor and creates the desired atmosphere.
Banner Sizes
The size of your banner will depend on the space you have available and the impact you want to create.
- Small banners(around 1-2 feet long) are perfect for smaller spaces like doorways, windows, or even a mantelpiece. They can also be used to create a subtle spooky touch without overwhelming the space.
- Medium banners(around 3-5 feet long) are ideal for larger spaces like a living room wall or a staircase. They can be hung horizontally or vertically and can be used to create a more dramatic effect.
- Large banners(over 5 feet long) are perfect for creating a grand statement. They are best suited for wide walls or large areas and can be used to create a truly immersive Halloween experience.
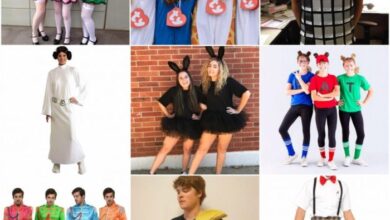
Banner Styles, Decorate for halloween with a free photo banner printable
There are many different styles of Halloween banners to choose from, each with its own unique look and feel.
- Traditional bannersoften feature classic Halloween symbols like bats, ghosts, and pumpkins. They are typically made from fabric and have a more vintage feel.
- Modern bannersoften feature bold colors, geometric patterns, and modern interpretations of Halloween icons. They can be made from a variety of materials, including fabric, paper, or vinyl.
- Personalized bannerscan be customized with your own name, a spooky message, or a special Halloween theme. These banners are a great way to add a personal touch to your decorations.
Printing and Assembling the Banner
Now that you’ve chosen the perfect size and style for your Halloween photo banner, it’s time to print and assemble it! Let’s explore the steps involved in bringing your design to life.Printing your photo banner is a straightforward process, but there are some tips to ensure high-quality results.
Printing the Banner
- Choose the Right Paper:Opt for a heavy-duty paper, such as cardstock or photo paper, to ensure your banner is durable and doesn’t easily tear or wrinkle.
- Adjust Printer Settings:Select the highest quality setting on your printer to achieve the best possible resolution and color accuracy. This will result in a sharper and more vibrant banner.
- Test Print:Before printing the entire banner, consider printing a test page to ensure the colors and sizing are correct. This step helps avoid any unexpected surprises or wasted paper.
- Printing in Sections:If your banner is larger than the standard printing size of your printer, you’ll need to print it in sections. Make sure to overlap the sections slightly to create a seamless look when assembling the banner.
Assembling the Banner
Assembling your photo banner is the final step in creating your festive decoration. There are various methods you can use, each with its own advantages.
- Tape:Using clear tape is a quick and easy method to assemble your banner. Overlap the edges of each section and secure them with tape. For a more professional look, use double-sided tape.
- Glue:Glue provides a stronger bond than tape and can be used for a more permanent assembly. Apply glue to the edges of each section and carefully press them together. Ensure the glue is completely dry before hanging the banner.
- String:This method works well for banners that are meant to be hung vertically. Punch holes at the top of each section and thread a string through the holes. Secure the string at both ends of the banner.
Halloween is just around the corner, and I’m already brainstorming spooky decorations! I’m thinking of using a free photo banner printable for a fun and personal touch. But before I get too carried away, I need to organize my craft supplies.
Check out these 6 brilliant organizing ideas that can help me tackle any craft project, from Halloween decorations to holiday gifts. Once my supplies are in order, I can focus on creating the perfect spooky banner for my Halloween party!
Getting ready for Halloween? A free photo banner printable is a great way to add a personal touch to your decorations. And while you’re in the spirit of celebrating, maybe you can also check out this amazing list of 34 neighbor Christmas gift ideas for when the holidays roll around.
But for now, let’s get back to those spooky Halloween banners!
Creating a festive Halloween atmosphere doesn’t have to break the bank! A free photo banner printable is a fun and budget-friendly way to add some spooky flair to your decor. If you’re looking for more tips on how to stretch your budget, check out this article on budgeting like a pro.
With a little creativity and planning, you can have a hauntingly good Halloween without overspending.